This guide explains how to create and use a Managed Configuration for a Google Play application on Android devices in CapaOne Mobile Manager.
By the end, you will know how to locate an app, edit its Managed Configuration, and link it to endpoints or groups.
Prerequisites
Before creating a Managed Configuration, ensure you have:
- Access to CapaOne Mobile Manager
- A Google Play app that supports Managed Configuration (not all apps do)
Configuration / Steps
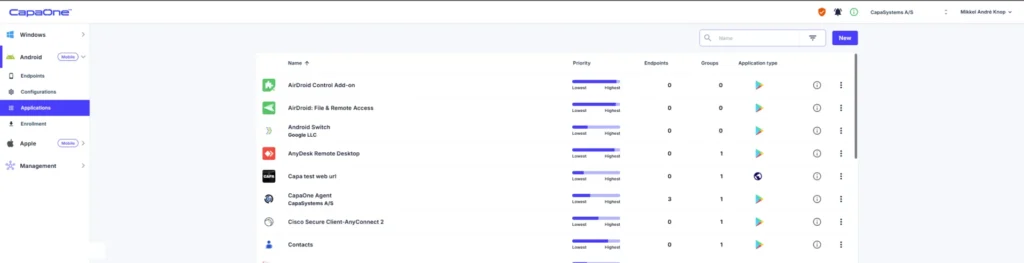
1. Open the Android Applications Section
- Go to capaone.com
- Navigate to Android → Application.
2. Select the App You Want to Configure
- Find the Google Play app that requires a Managed Configuration.
- Click the three-dot menu next to the app.
- Select Edit Managed Configuration.
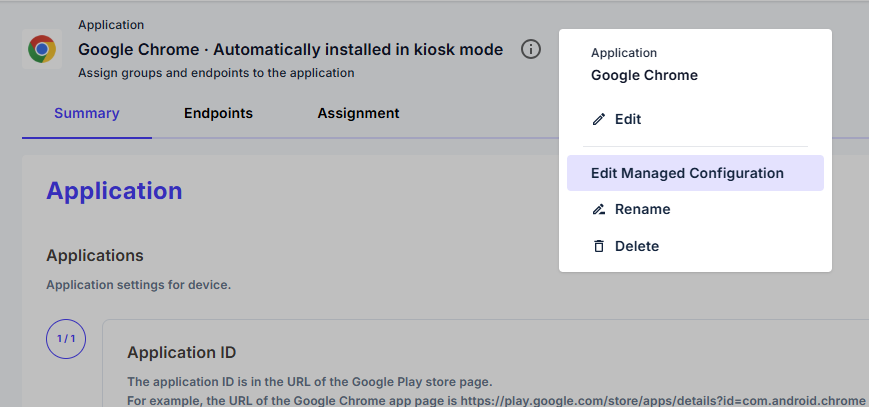
Note:
Managed Configuration is only available for apps where the developer supports it.
If the option is not visible, the application does not support Managed Configuration.
3. Create or Edit the Managed Configuration
- Modify the available configuration fields according to your requirements.
- Click Save to apply the Managed Configuration.
The configuration is now ready and can be linked to:
- Individual endpoints
- Groups
Enrollment
No enrollment-specific steps are required.
The Managed Configuration will automatically apply to devices once the associated app is installed and the configuration is linked to the device or group.
Maintenance & Best Practices
- Always verify that an app supports Managed Configuration before planning configuration policies.
- Review developer documentation for apps with complex configuration schemas.
- Test Managed Configurations on a single Android device before applying them widely.
- Revisit configurations after app updates, as new options may become available.
